Project 2
Project 2A: Chasing a Thundercloud
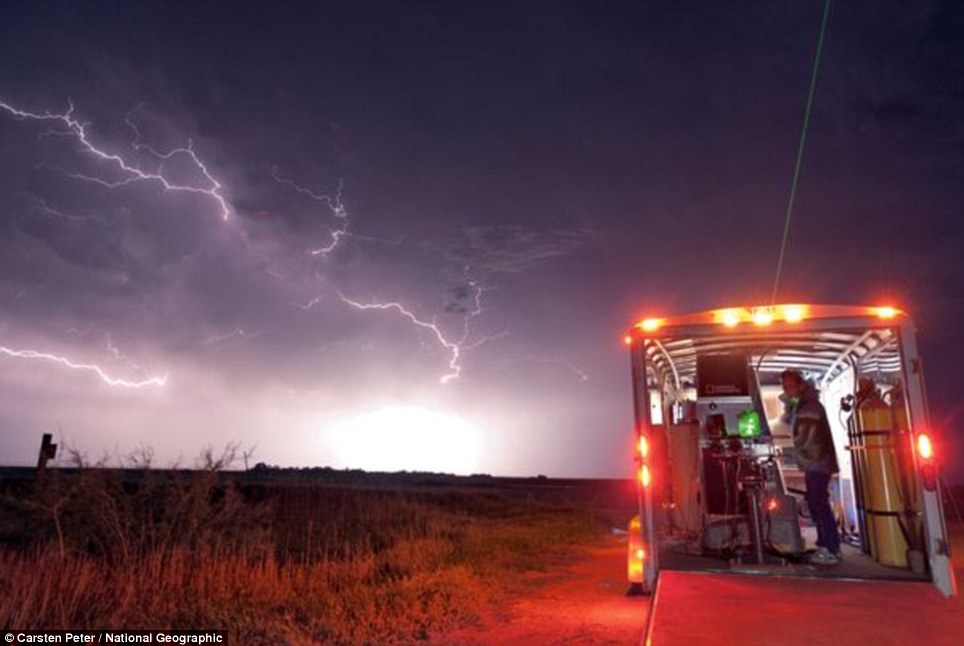
You and your group are a team of storm chasers tracking a massive thundercloud moving across the plains and into the mountains beside the town of Lakeview. You grab your handy-dandy high voltage probe (like this one) and radio, then drive from your headquarters 250 m until you are directly under the storm cloud. Thankfully, your team already calibrated the voltmeter to 0 V when the storm cloud was very far away. From your training, you know that if the electric field is bigger than 3 MV/m (also called the dielectric breakdown of air), the air will become a conductor and lightning will strike. You need to determine if a) you are safe from lightning under the thundercloud and b) if the lightning rod on top of the storm-chaser headquarters will be hit. The master storm chaser and part-time civil engineer, Edric Storm, tells you that the storm-chaser headquarters is 200 m tall.
Learning Goals - Project 1A:
- Understand what the $\vec{r}$ is, how to calculate it, and how it relates to $\hat{r}$
- Become familiar with the ideas of electric field and electric potential
- Explain the differences between electric field and electric potential
- Explain how electric field and electric potential are related
Project 2B: Meanwhile Back At Stormchaser HQ
The team back at headquarters has just received a call from the National Weather Service (https://www.weather.gov/) that they want you to take some additional data on this cloud. Apparently some of the properties of this cloud are particularly interesting, specifically due to the fact that the cloud is moving Northward, not typical of most clouds in this geographical region (see some discussion of this here if you're interested). For the moment, the winds have died down and the cloud isn't moving.
The Super-Mega-Storm-Cloud-Meter 9000TM, standing 30 m tall, operates by collecting data from the cloud using a series of satellite dishes planted on the ground that monitor the cloud as it moves and develops/deteriorates, sort of like a fancy digital multimeter. There is only one problem: the equipment you are going to use to collect said data is extremely sensitive, specifically to electric field interferences. In order to collect useful data, it must be properly calibrated to the source of interest. The field team has already set up the device below the cloud 250 m away from HQ. In order to calibrate this instrument, a computer based model of the electric field of the cloud needs to be built and sent to the measuring device's main computer located with the field team. This alleviates any background “noise” in the data caused by satellite dishes, cell phones, camera equipment, power lines, transformers, interference with any residual charges in the ground, etc.Thankfully, your team has a template for building these computer models.
## Scene Setup
scene = display(width=1000, height = 1000)

## Parameters
ec = 1.6e-19
k = 9e9

## Objects
cloud = sphere(pos=vec(0,3500,0), color=color.white, radius=100)
ground = box(pos = vec(0,0,0), width=5000, length=5000, height=0.1, color=vec(1,0.7,0.2))
HQ = box(pos = vec(-250,100,0), width = 10, length=10, height=200, color=color.green)
detector = box(pos = vec(0,30,0), width = 5, length=5, height=3, color = color.white)

#Step 1: Make one E-Field Arrow
E = vec(0,0,0)
field = arrow(pos=detector.pos, axis = E, color = color.yellow)


#Step 2: Make multiple E-field Arrows
starting_point=-200

while starting_point<200:

    E=vec(0,0,0)
    field = arrow(pos=detector.pos, axis = E, color = color.yellow)

    starting_point=starting_point+150
Complete the computer model that will calibrate the Super-Mega-Storm-Cloud-Meter 9000TM to the cloud's electric field at the position of measurement. The Super-Mega-Storm-Cloud-Meter 9000TM will also need to be calibrated for a variety of electric field positions to the North and the South of its operation point once it has been properly programmed for its stationary position. This is to set a baseline for collecting data as the cloud begins moving.
Notes on Coding
Getting Started with Glowscript
Learning Goals:
- Become comfortable with reading code (where in the code are objects made, how do you make arrows/objects, where are calculations happening, etc.)
- Connect the parts of the code to what you see when you hit the “Run” button
- Recognize what you want to enter as a “known” (or parameter) in the code and what you want the program to calculate
- Be able to explain how the code relates to the physics equations (from Week 1) and vice versa
